Tsitsi 0415 403 313
Hilda 0415 402 516
Need Help? Call Us

Tsitsi 0415 403 313
Hilda 0415 402 516
Learning how to change a suprapubic catheter is an essential part of care for many people living with certain medical conditions or disabilities. These catheters, inserted directly into the bladder through the abdomen, help drain urine when normal urination isn’t possible or when an indwelling urethral catheter is not suitable due to discomfort, long-term use, or medical complications.
Some people manage their catheter care at home, but it’s important to remember that this particular procedure is delicate and requires proper training. There’s a real risk of complications like infection or injury if you attempt to carry it out without professional guidance.
Suppose you or someone you support needs to change their suprapubic catheter at home. It’s important that a qualified healthcare professional either performs the procedure or teaches you how to do it safely. This ensures the risk of complications like infection, bleeding, or injury is kept as low as possible.
This article provides an overview of the suprapubic catheter replacement process and highlights the role of professional healthcare support in ensuring safe and effective care.
A suprapubic catheter change isn’t as simple as swapping out a tube. It is a medical procedure that requires precision, sterile technique, and a clear understanding of the anatomy involved. When done incorrectly, it can lead to serious complications such as urinary tract infections, trauma to the bladder or abdominal wall, or damage to the catheter tract.
Qualified health professionals, such as registered nurses, are trained to manage these risks. They know how to maintain a sterile environment, monitor for signs of infection or obstruction, and respond if something goes wrong during the procedure. They also have the experience to deal with uncommon but serious issues like catheter balloon failure.
For NDIS participants and others receiving care at home, engaging a trained provider of reliable NDIS nursing services ensures peace of mind. Even if someone is being taught to change their catheter, this should always be done under the guidance and supervision of a healthcare provider.
However, many individuals with a suprapubic catheter are capable of managing their own changes once they’ve received proper instruction. If you’ve been shown what to do, understand the steps involved, and know how to keep things sterile, self-management can be a practical and empowering option.
The following step-by-step guide outlines how a suprapubic catheter change is typically carried out. It’s intended to support your understanding, not to replace direct clinical instruction. Always speak with your healthcare provider if you’re unsure about any part of the process.
If you’ve been trained by a nurse or healthcare provider, changing your suprapubic catheter at home can become part of your regular care routine. The steps below outline how the procedure is typically carried out.
This guide is for reference only and doesn’t replace hands-on clinical training. If you’re unsure about any step, or something doesn’t feel right, speak with your healthcare provider. If you’re an NDIS participant and need help with a catheter change at home, Flame Lily’s nursing team is available to assist across Wollongong, Sutherland, Nowra, and Western Sydney.
Note: The first catheter change should be performed by a healthcare professional no earlier than 6 weeks after the catheter is first inserted. Attempting this too soon may lead to serious complications due to an immature tract.
Before you begin, take a moment to get comfortable and make sure you have everything ready. Give yourself time and space to focus. There’s no need to rush. Some people find it helpful to talk themselves through the steps or mentally check off each stage as they go.
To prepare:
Set up in a quiet, clean space with good lighting. Wipe down nearby surfaces and remove distractions like pets or clutter. Keeping things tidy and calm can make the process smoother and reduce the risk of infection.
Wash your hands thoroughly with soap and water before and after the procedure. Put on sterile gloves before handling any equipment. Good hand hygiene is a key part of infection control.
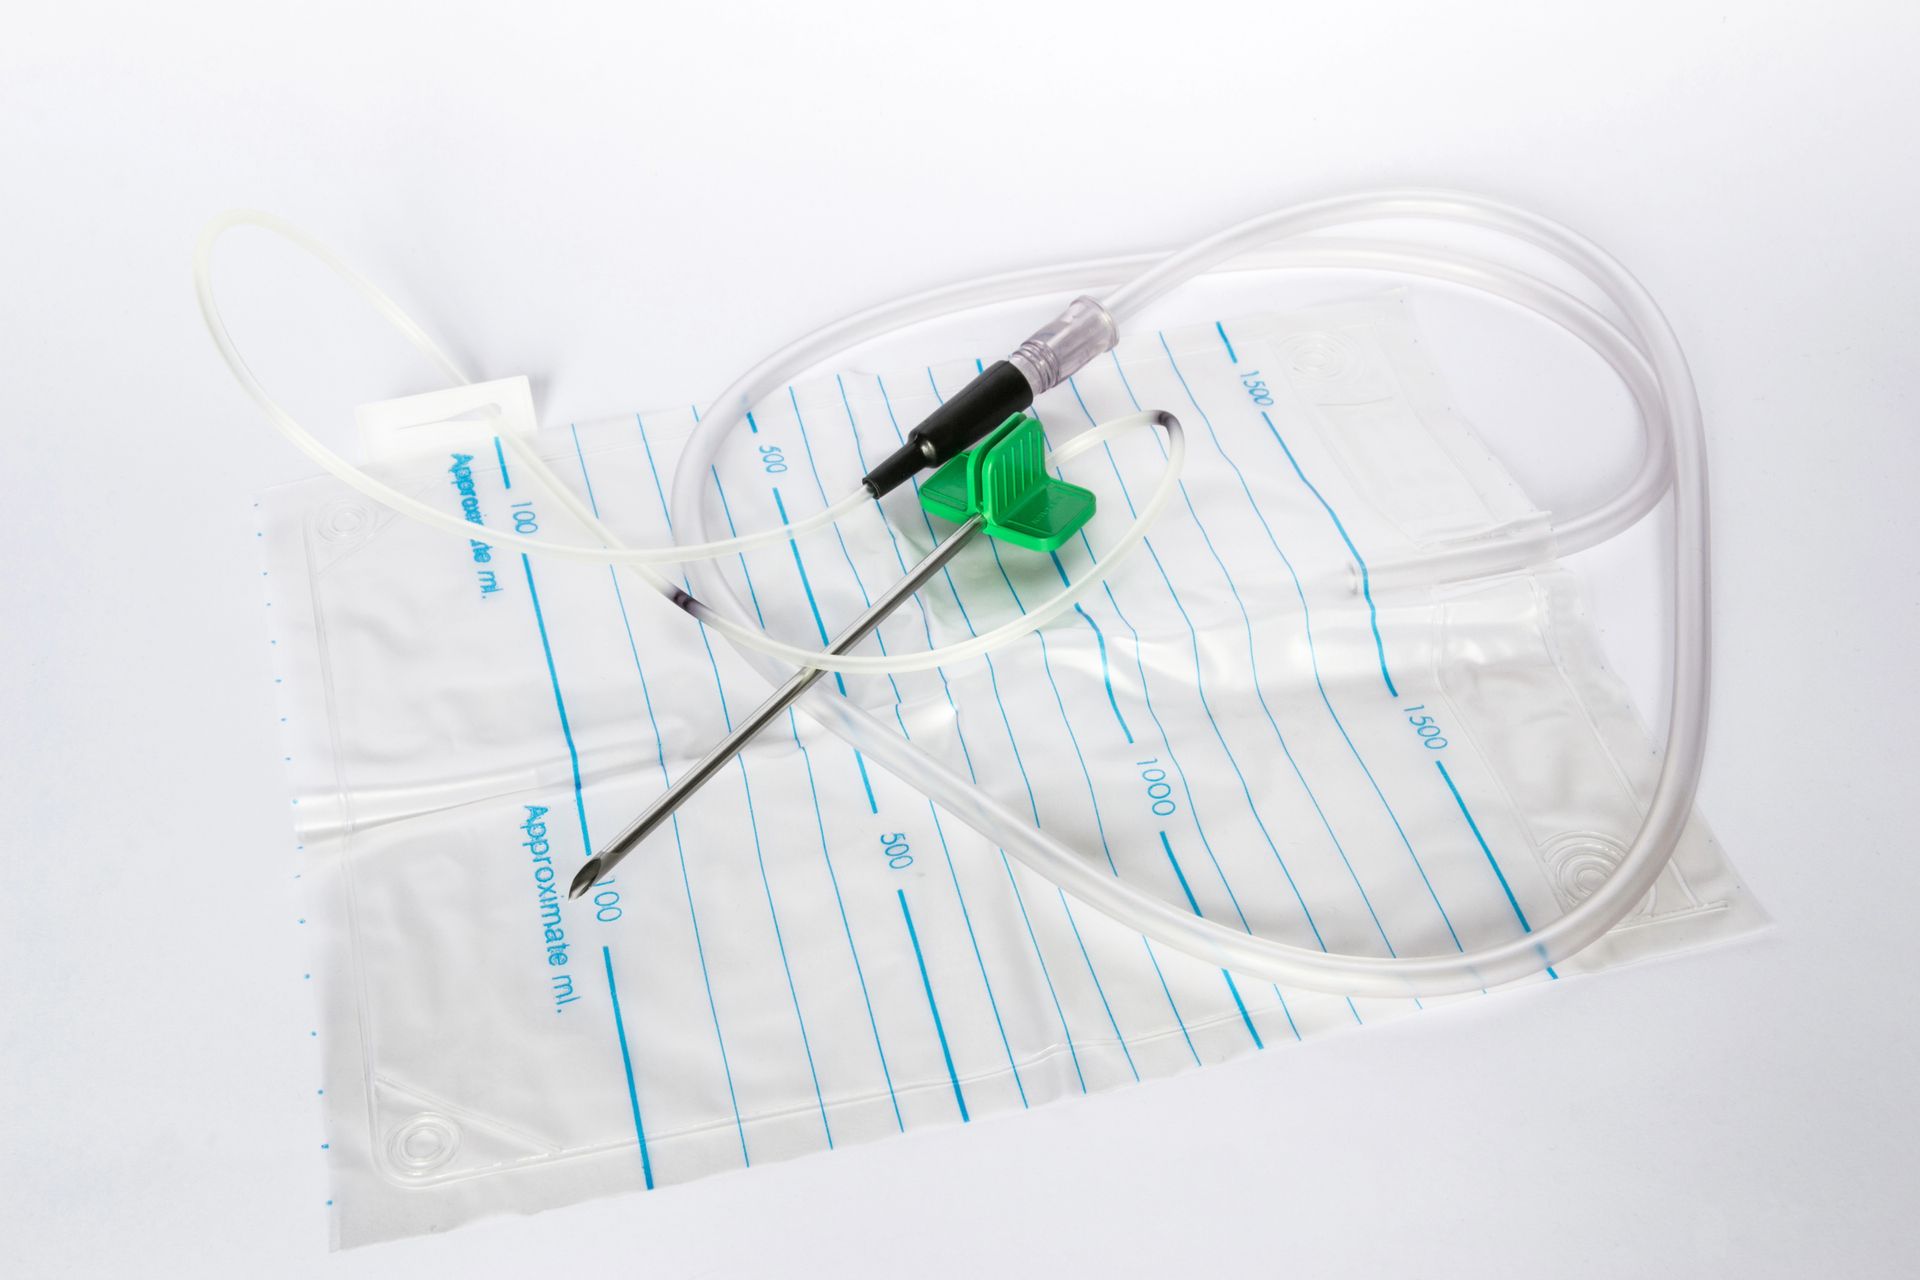
All necessary items must be laid out in advance and kept sterile. This typically includes a new suprapubic catheter (correct size and type), sterile lubricant, pre-filled syringe for balloon inflation, drainage bag, sterile saline or water, and cleaning materials such as antiseptic wipes or solution.
Keep a spare replacement catheter and an extra syringe nearby, just in case. Have the contact details for your nurse or GP on hand in case anything doesn’t go as expected.
Once everything is ready and your hands are gloved, you can begin the catheter removal process. Take your time and stay focused. This part should feel steady and controlled.
Attach an empty syringe to the balloon port and allow the fluid to drain out slowly. This is usually 10 mL of sterile water. If it doesn't drain easily, you can gently draw back on the plunger or try adding a small amount of fluid to help smooth the balloon. Never try to remove the silicone catheter while the balloon is still inflated, as this can damage your bladder or the surrounding tissue.
Once the balloon is fully deflated, gently withdraw the catheter. It should slide out with minimal resistance. If you feel pain, tightness, or notice anything unusual, such as discharge or bleeding, stop and contact your nurse or GP for advice.
Place the old catheter, gloves, and any used materials into a clinical waste bag or dispose of them as instructed in your care plan. Keep the area clean and avoid reusing any equipment that is no longer sterile. Make sure to follow healthcare waste guidelines.
This part of the process is straightforward when done carefully, but skipping steps or rushing can lead to complications. Stick to the method you were shown, and reach out for help if anything feels uncertain.
After cleaning the area and removing the old catheter, the new one can be carefully placed. You may follow these steps:
Apply sterile lubricant to the new catheter tip. Then, carefully guide it into the existing suprapubic tract. It should follow the path created during initial placement. This part should never be forced. If you ever feel discomfort or resistance signals, pause and seek help.
Once inserted, inflate the catheter balloon using the pre-filled syringe as instructed by your healthcare provider.
Connect the suprapubic catheter to the drainage system and ensure that the drainage bag tubing is not kinked or twisted, as this could block urine flow.
If a catheter valve is being used instead of a drainage bag, make sure it is properly fitted and the individual understands how to operate it safely. The valve should be checked regularly to ensure it’s functioning correctly and not leaking.
Once the replacement catheter is in and everything is connected, take a moment to check that you are comfortable and that urine is flowing. You can now begin monitoring to make sure everything continues to work as expected.
Once the new catheter is in place, take some time to monitor how it’s working and how your body responds. These checks can help you catch any problems early.
Make sure that the urine is pouring freely into the drainage bag. If there is little to no outflow, this could indicate a catheter placement issue or a more serious problem like bladder outlet obstruction. In such cases, consult a doctor immediately and recheck the existing catheter's position.
Examine the catheter site and drainage bag connection for signs of leakage or discomfort, which may suggest a catheter balloon issue or incorrect placement.
Keep an eye on the area over the next hours and look for any unusual discharge, bleeding, oedema, or redness, all of which could be early signs of a urinary tract infection or other complication. As advised, gently clean with an antiseptic, and maintain regular hygiene by adhering to your care plan.
After you’ve confirmed that the catheter is secure and urine is flowing properly, you can move into your usual aftercare routine. Staying consistent with hygiene and monitoring helps keep the site healthy and reduces the chance of complications.
Once the new catheter is in and working properly, your focus shifts to staying comfortable and keeping the site clean and healthy. A steady routine helps prevent infection and supports healing over time.
Clean the area surrounding the insertion site every day using warm water and a mild cleanser (or antiseptic solution, if advised).
While some redness or sensitivity may be typical, anything that seems strange, such as pain, an odd discharge, or a fever, has to be taken seriously. Ask for help as early as possible.
Notice how your body feels throughout the day and into the next. Soreness, pressure, or even just feeling unsettled can be signs that something isn’t quite right. Trust those signals and don’t hesitate to speak up.
Taking care of yourself includes noticing what feels normal and what doesn’t. The more you stay in tune with your body, the more confident and comfortable each change will feel.
Managing your own catheter is a serious responsibility. It takes concentration, steady hands, and the ability to stay calm under pressure. It can feel difficult at first, but over time, you’ll get familiar with the process and learn what works best for you.
Keeping track of each change can help. Write down anything that felt different, what went smoothly, or what you want to ask your nurse next time. These details can make your routine more manageable and give you more control over your care.
You don’t have to figure it all out alone. If something feels off or you're unsure about a step, there’s support available.
Flame Lily Australia provides NDIS High Intensity Support for people managing catheter care at home. Our nurses can carry out suprapubic catheter changes in your home and are also available to guide you through the process if you're learning to do it yourself. We work across Wollongong, Western Sydney, Nowra, and the Sutherland region. Whether you need someone to take care of the change or want support while building your confidence, we are here to help.
Changing your suprapubic catheter at home is more than just another routine. It requires skill, patience, and the ability to stay calm under pressure. Although the process may seem clinical, it’s also deeply personal. And it’s okay if it feels a little overwhelming at first.
You don’t have to do it all on your own. If you ever feel unsure, uncomfortable, or just need support, reach out. Help is available from professionals who understand exactly what’s involved, not just in the procedure, but in the emotions that often come with it.
At Flame Lily Australia, our registered nurses can perform suprapubic catheter changes in your home. We also support those who are learning to manage their own care. Our team works across Wollongong, Sutherland, Nowra, and Western Sydney, so you’re never far from the help you need.
And remember, learning to care for yourself this way takes patience and confidence. It’s not always easy, but it can help you stay independent and in control. Every time you do it, you build a little more trust in yourself. And that matters.


Flame Lily Australia is an NDIS registered provider supporting participants with complex health needs through Continence Nurse Consultant (CNC) assessments, Nursing Care Plans (audit-ready), Nursing Support Services (RN oversight), High Intensity Nurse Support and training.
Home Care Package services via registered providers, where applicable.
Need Help? Call Us
Tsitsi - 0415 403 313
Hilda - 0415 402 516

Wollongong • North Wollongong • Fairy Meadow • Corrimal • Balgownie • Figtree • Keiraville • Gwynneville • Thirroul • Bulli • Austinmer • Dapto • Shellharbour area (Shellharbour, Oak Flats) (and surrounding suburbs)
Nowra • Bomaderry • Worrigee • North Nowra • South Nowra • Berry • Shoalhaven Heads • Culburra Beach • Huskisson • Vincentia • Callala Bay • Sussex Inlet (and surrounding suburbs)
Bowral • Mittagong • Moss Vale • Berrima • Burradoo • Bundanoon • Robertson • Sutton Forest • Exeter • Colo Vale (and surrounding suburbs)
Campbelltown • Leumeah • Bradbury • Glenfield • Ingleburn • Minto • Macquarie Fields • Raby • Rosemeadow • St Andrews • Menangle Park (and surrounding suburbs)
Sutherland • Miranda • Caringbah • Cronulla • Gymea • Kirrawee • Engadine • Menai • Sylvania • Oyster Bay (and surrounding suburbs)
Not sure if your suburb is included? We cover surrounding suburbs across these regions, and may travel further for bulk provider bookings.
Website Management ![]() Love My Online Marketing
Love My Online Marketing
